Meeting
Jan 16, 2010
Wrecking Crew
and Piano Parts
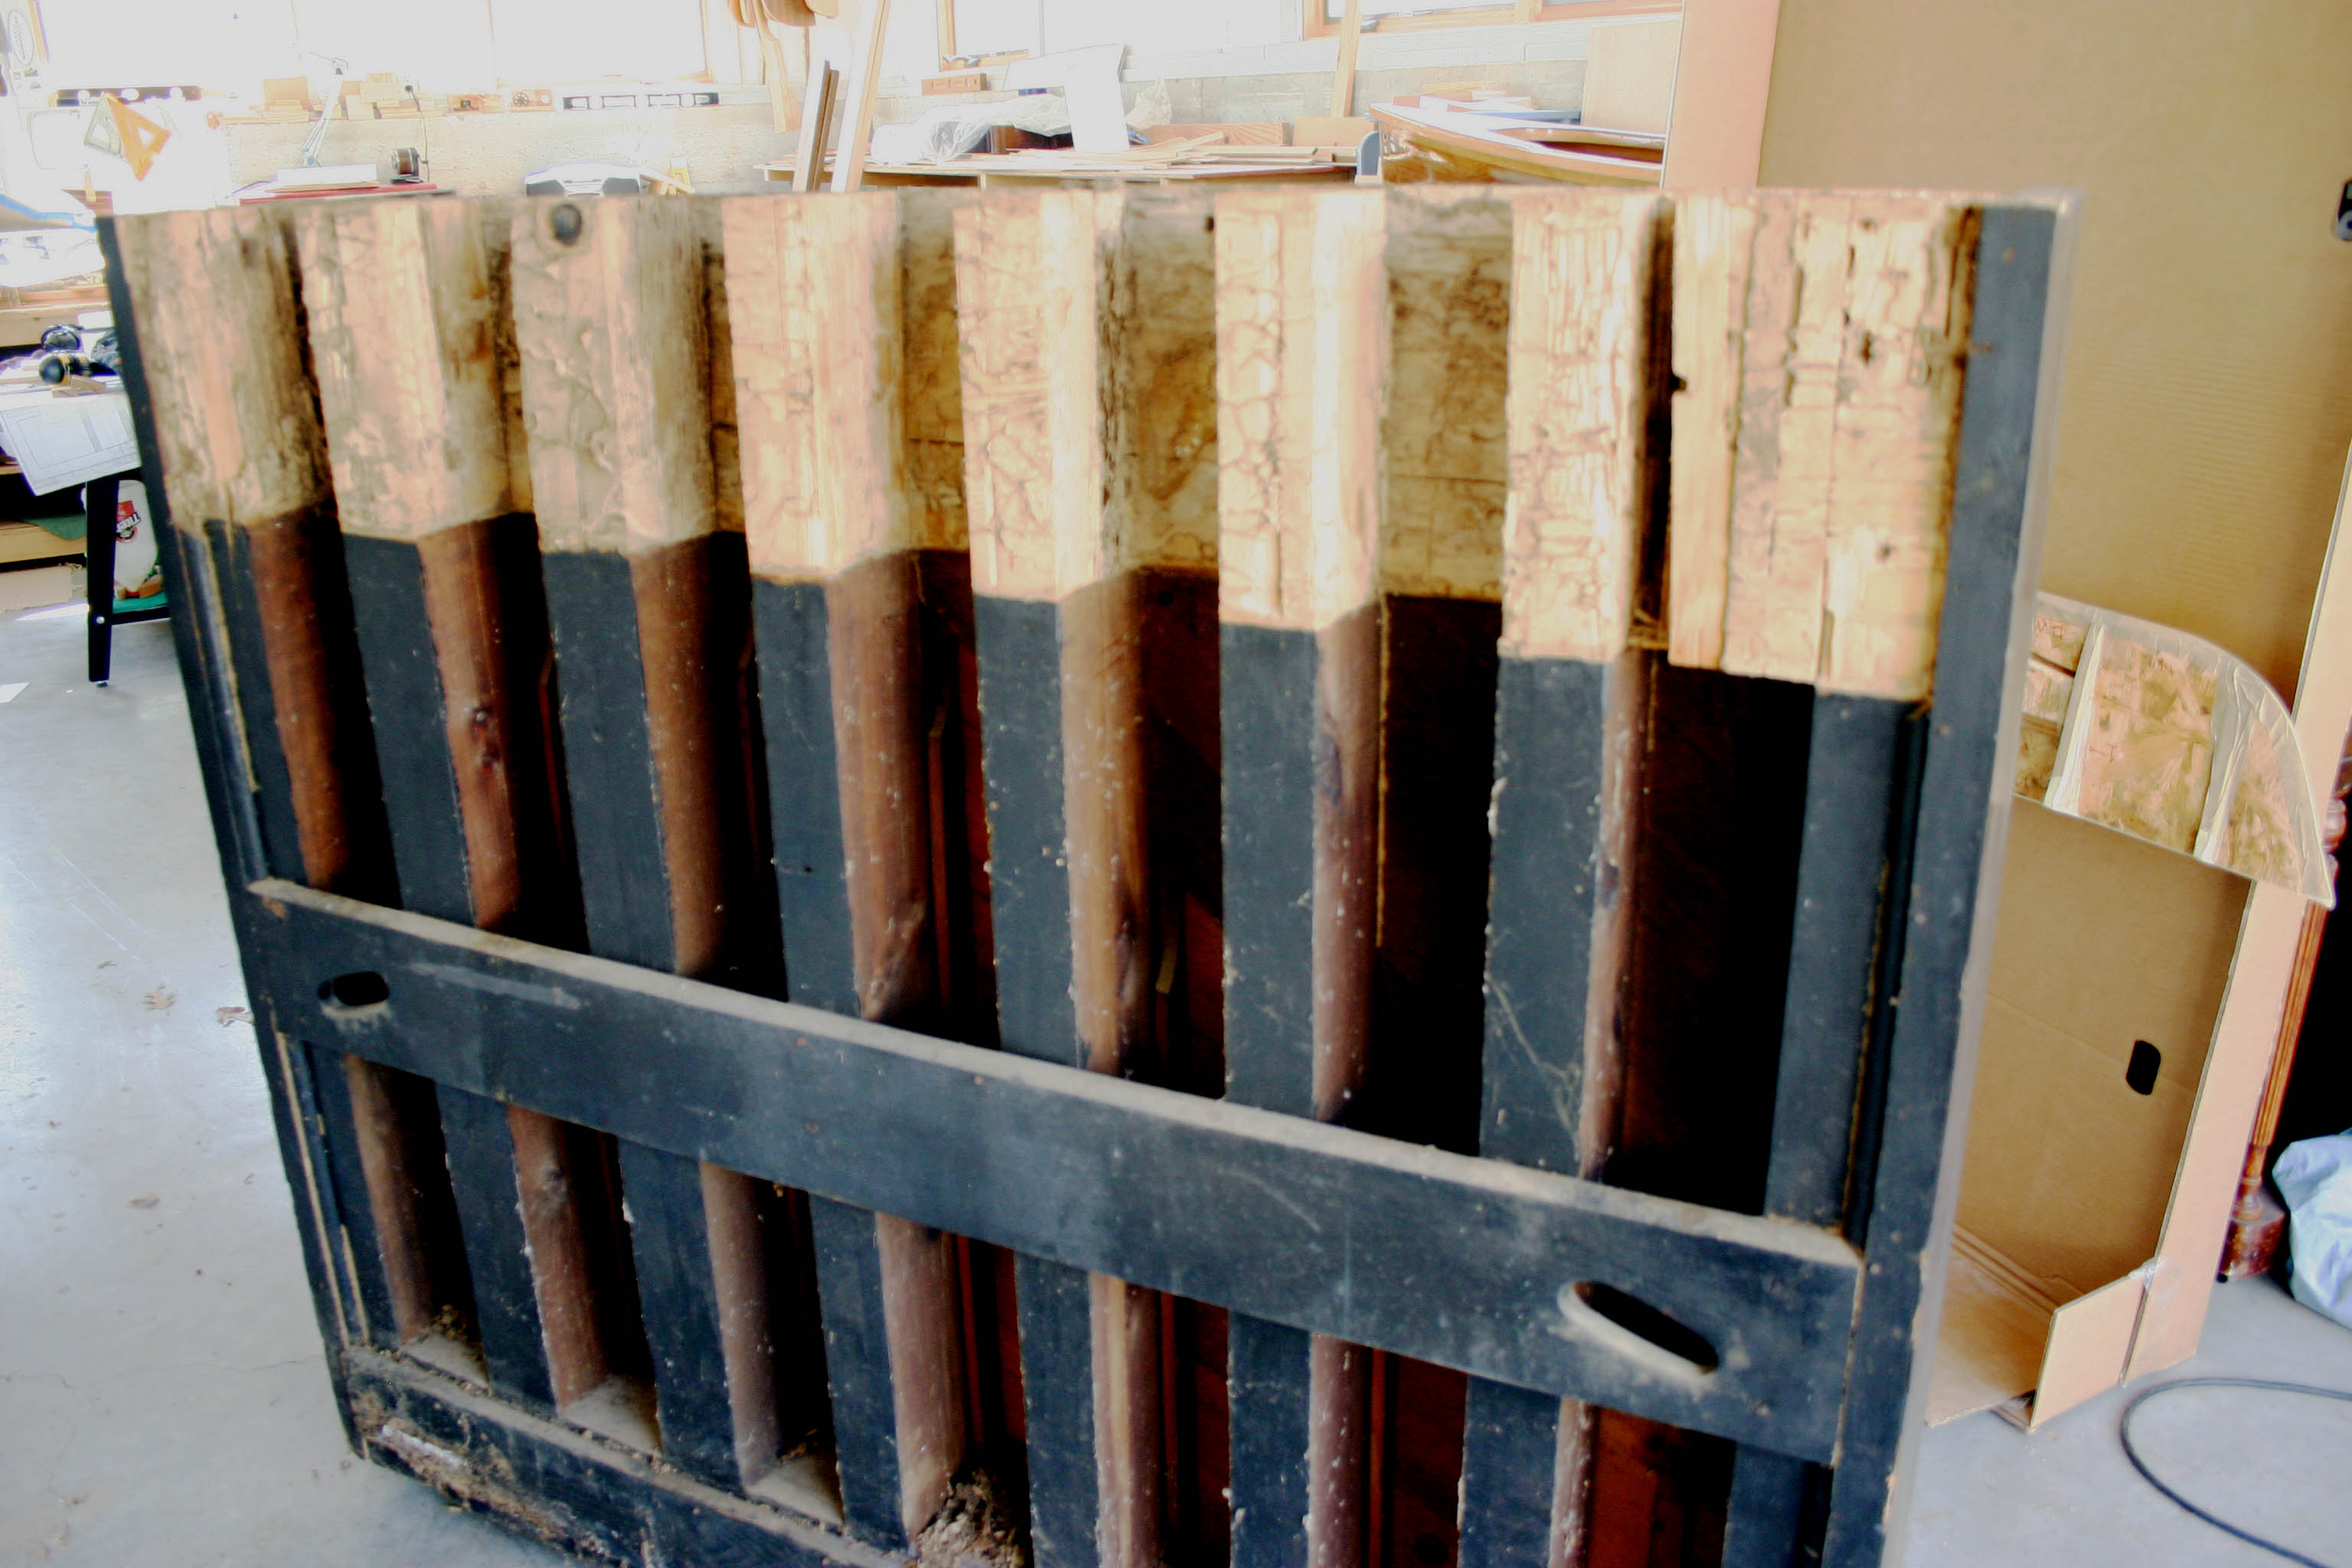
The Parts
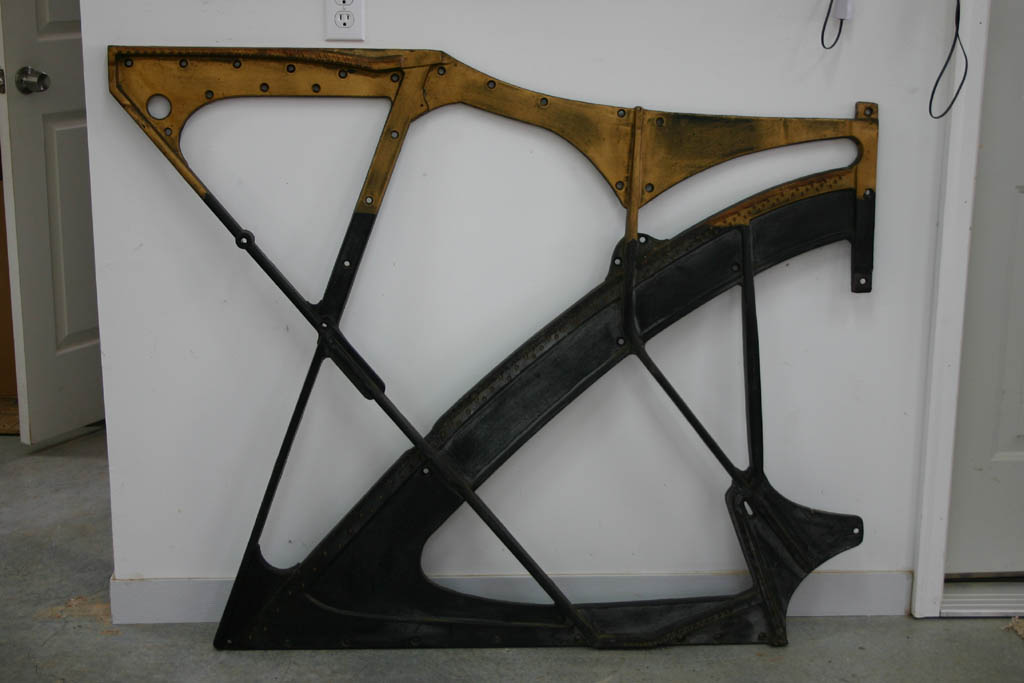
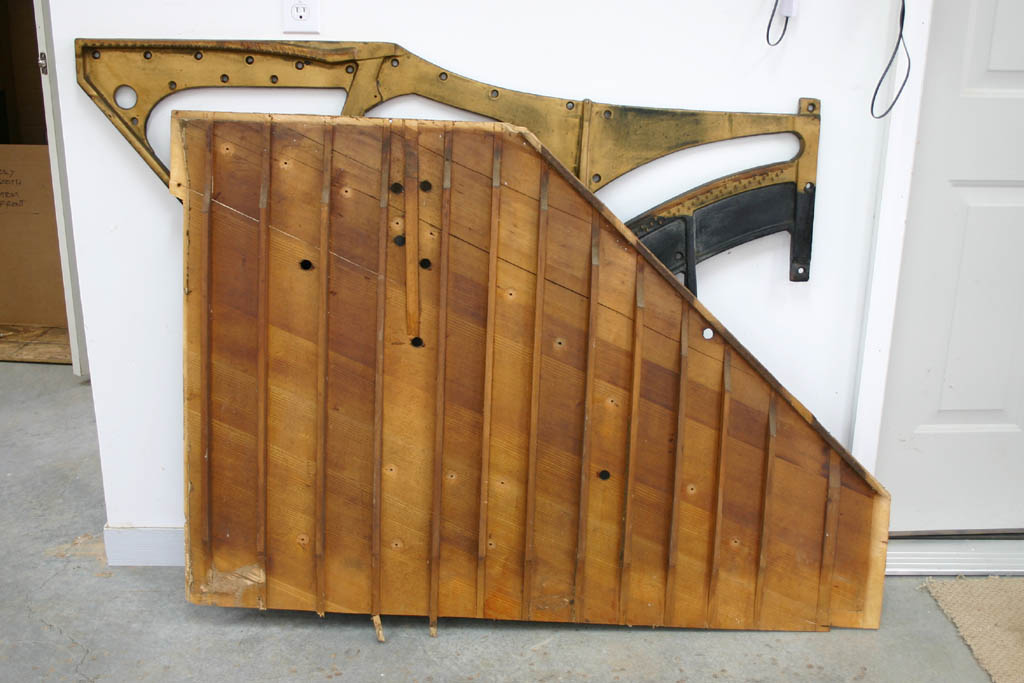
Cast Iron Frame
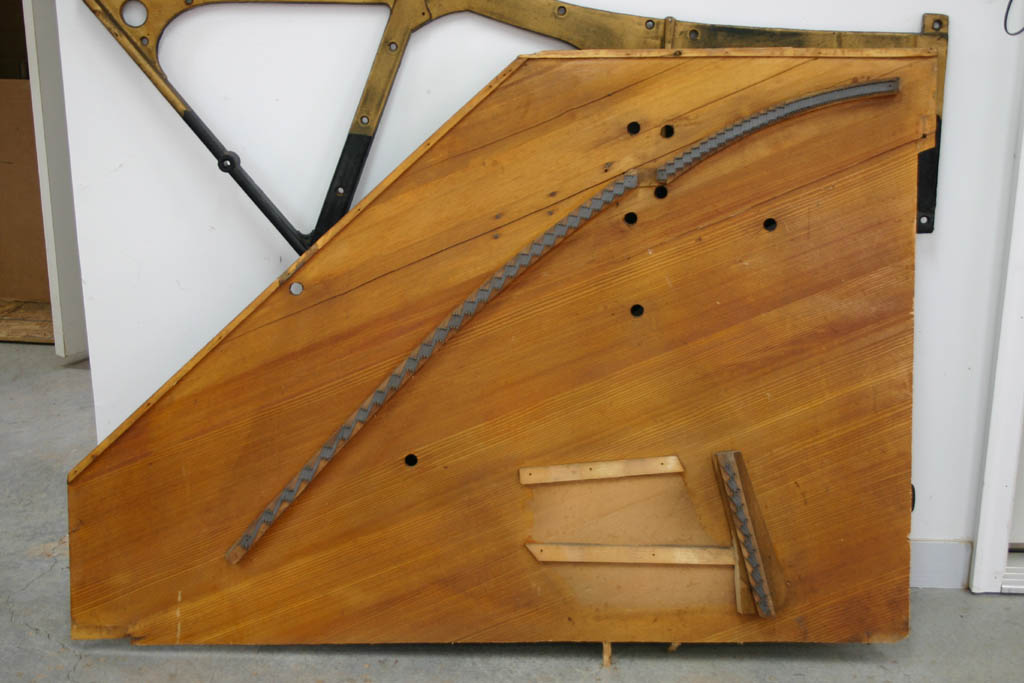
Soundboard
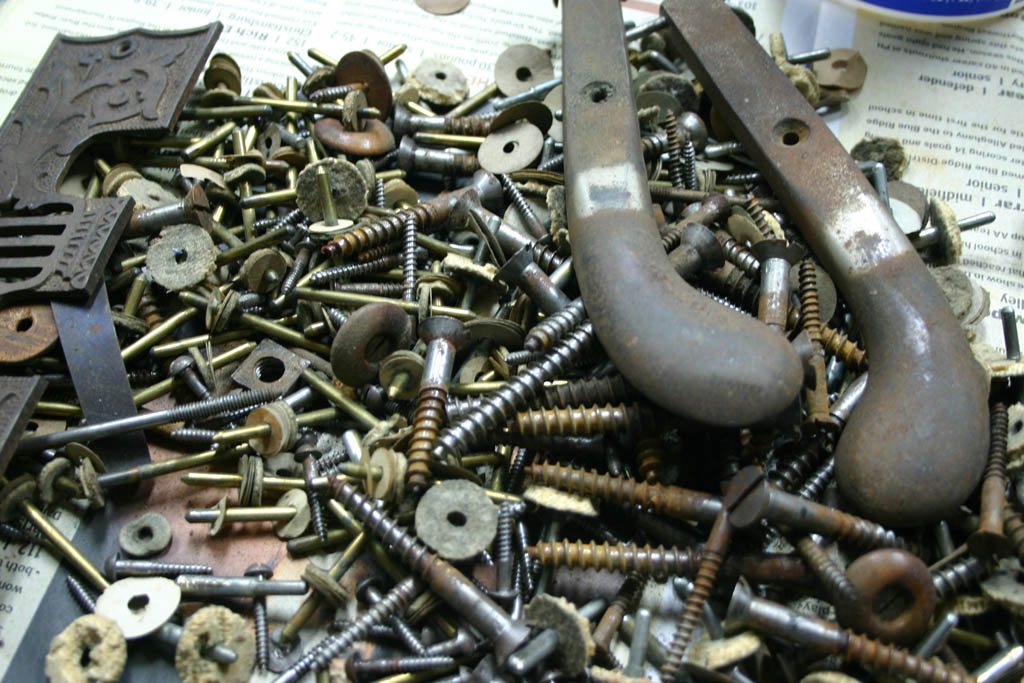
Hardware
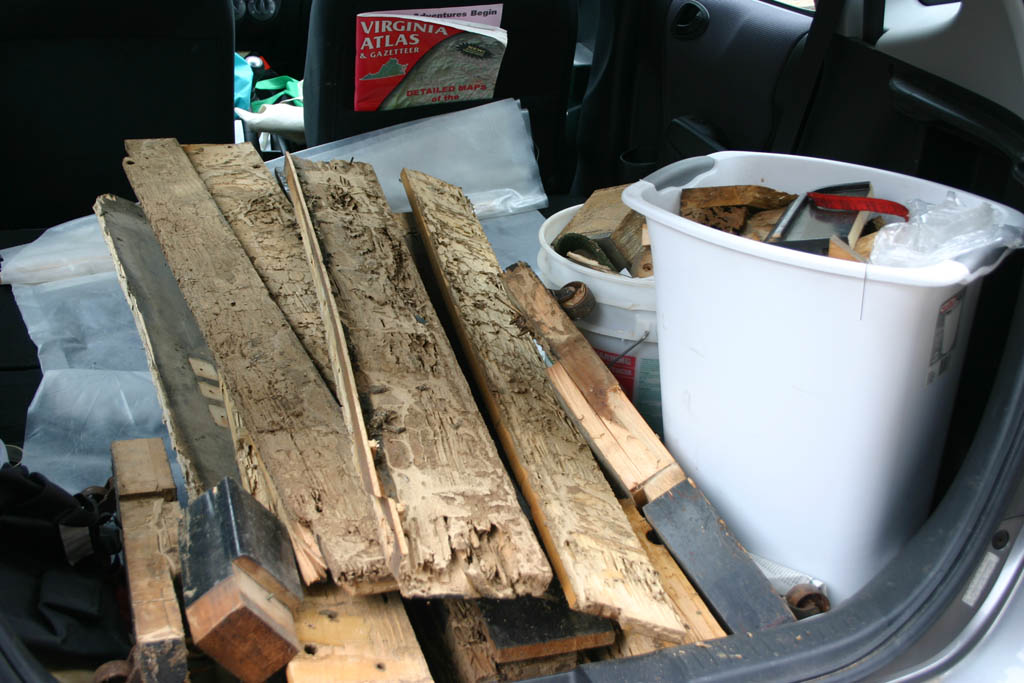
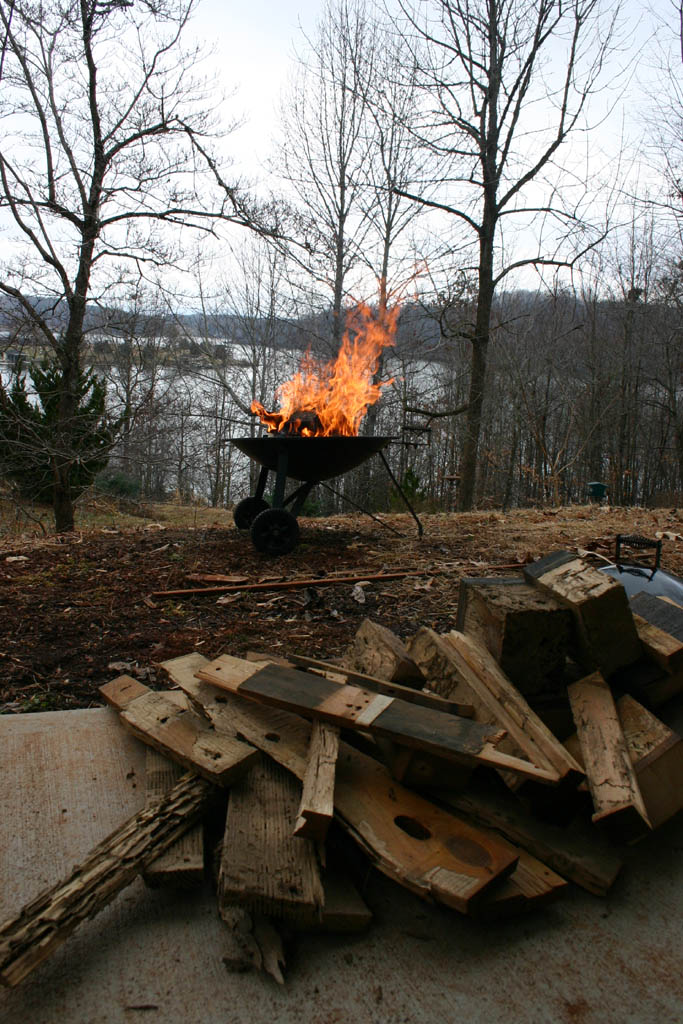
Rotted Parts Going to the Dump
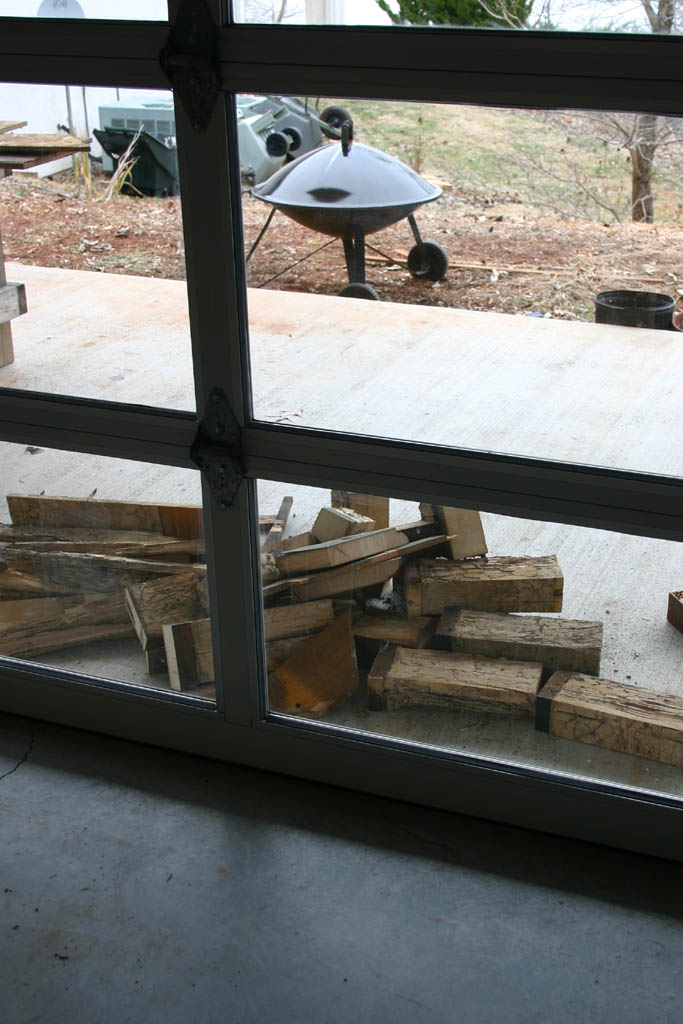
For the Outdoor Fireplace
Hot Piano Parts
Meeting - January 16, 2010
An Old, Termite Damaged Piano and Other Works in Progress
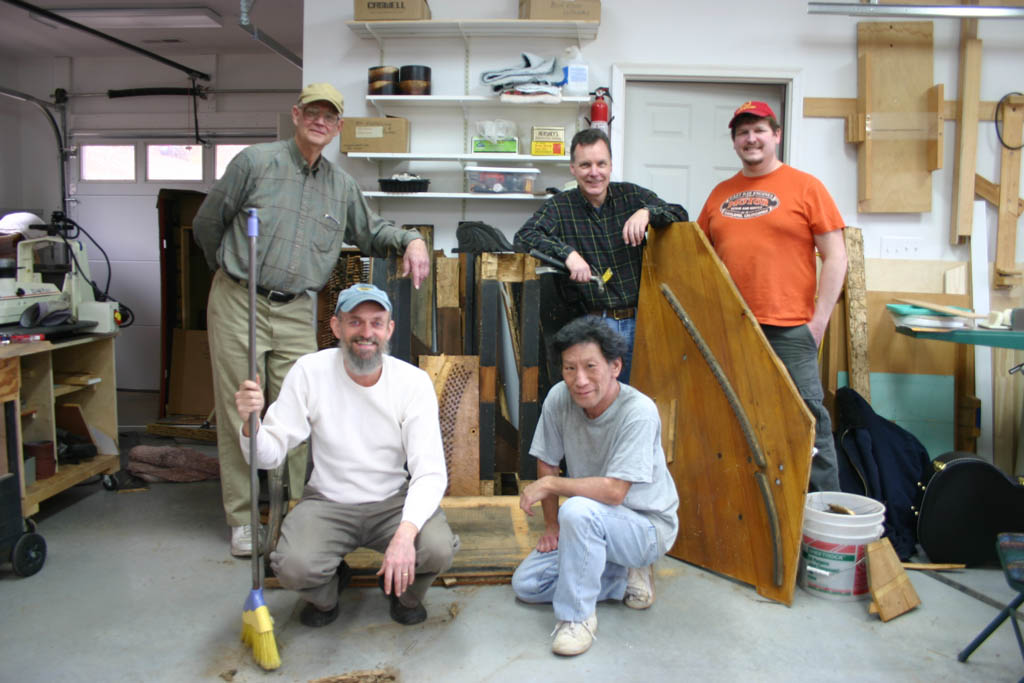
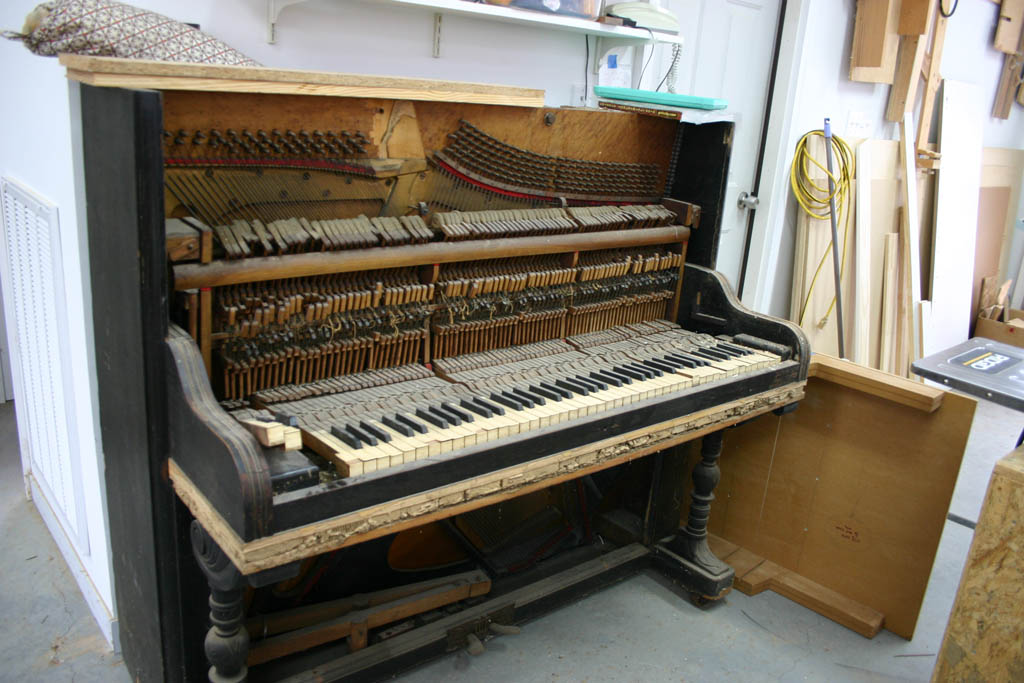
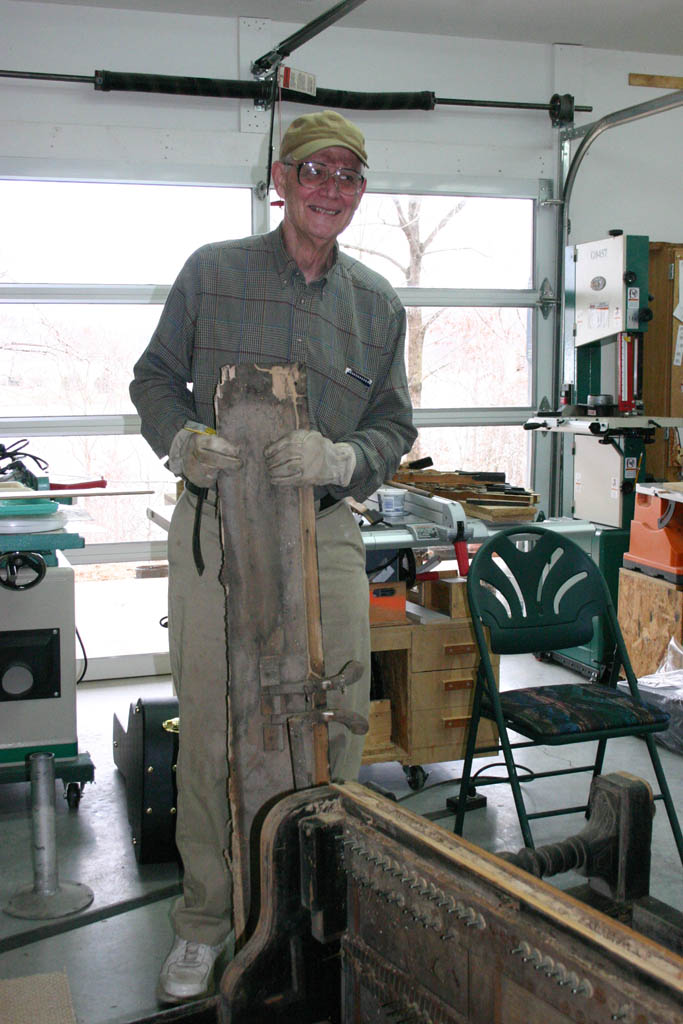
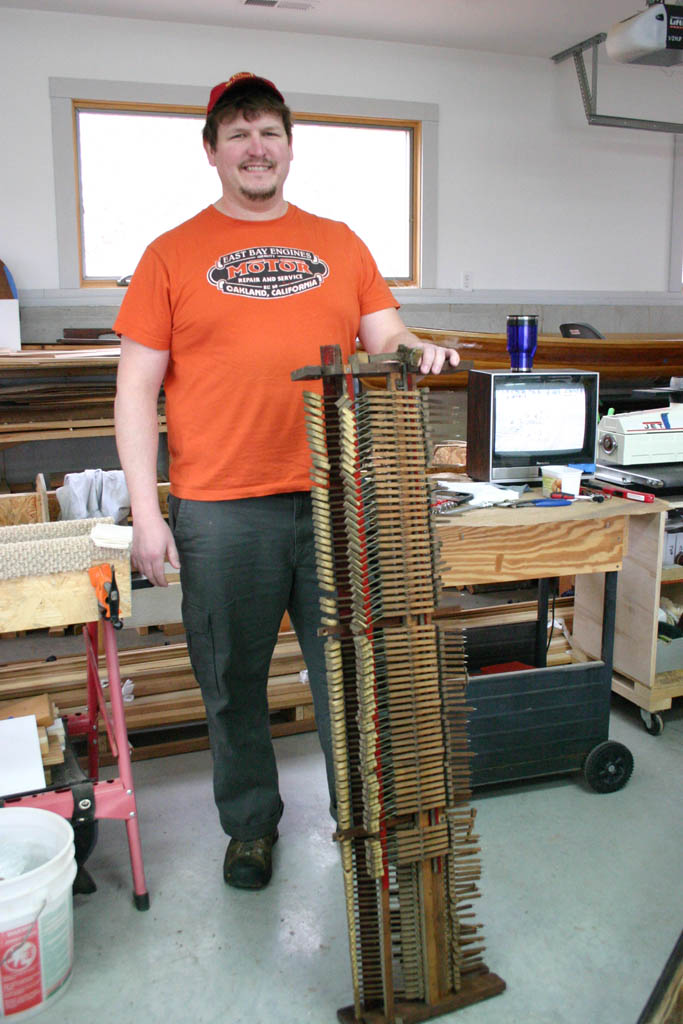
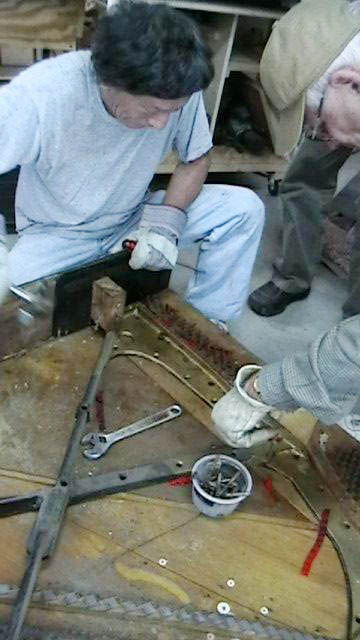
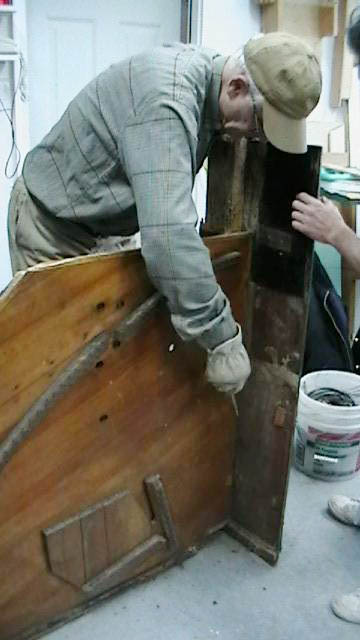
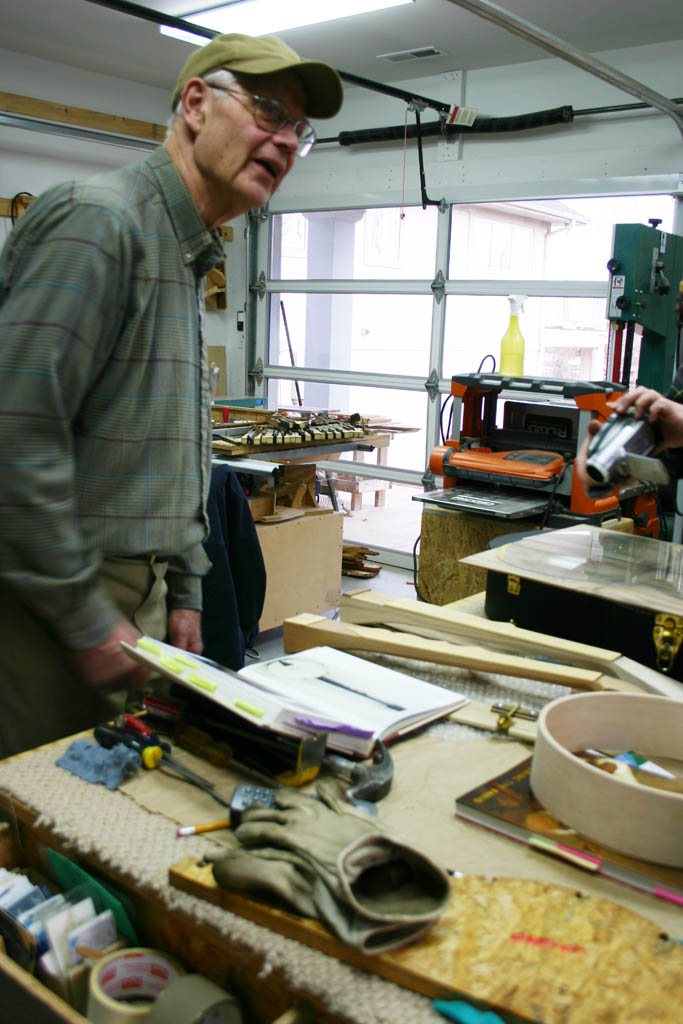
We met at Larry Sakayama's shop to dismantle an old piano. Our goal is to salvage parts to build another instrument - probably some kind of guitar - to raise money for a charitable cause. The piano was an old, piano with a lot of termite damage, but an intact soundboard.
Jack Gellerstedt, Woody McKenzie, B.B. Rierson, Larry Sakayama, and Howard Wilson enjoyed the destruction. At this point we really don't know what will come out of this but you can see what we did below.
If you think building a guitar or banjo is complicated, it's nothing compared to the complexity of a piano. There must be at least 1 million, finely adjusted moving parts, and a cast iron frame that weighs 2 tons.
We also saw some works in progress (near the bottom of this page).
Click on an image to see a larger picture.
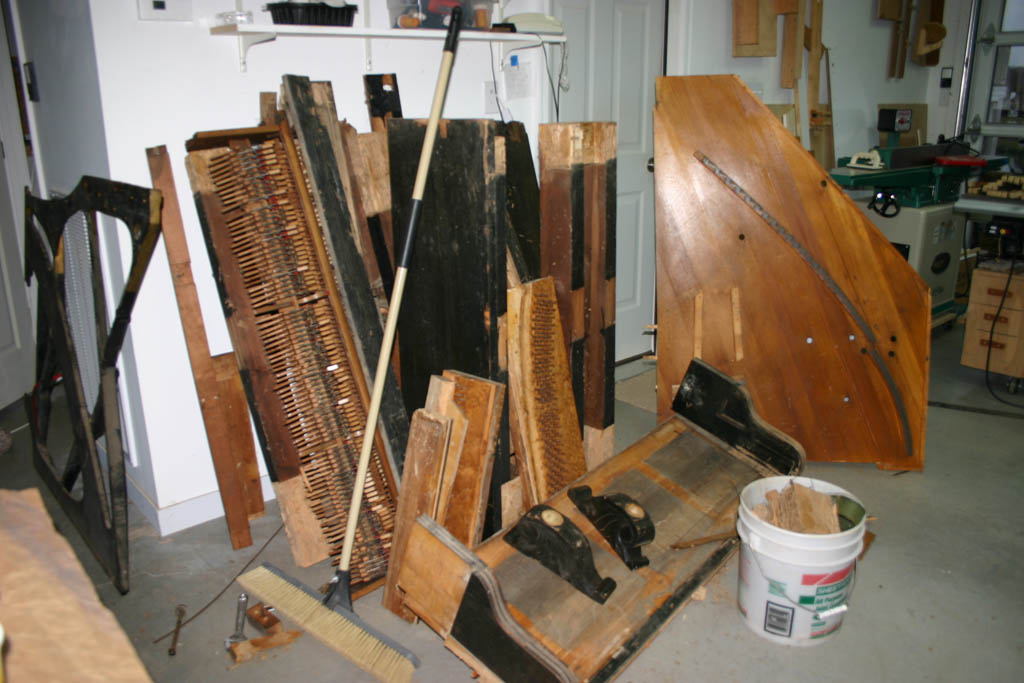
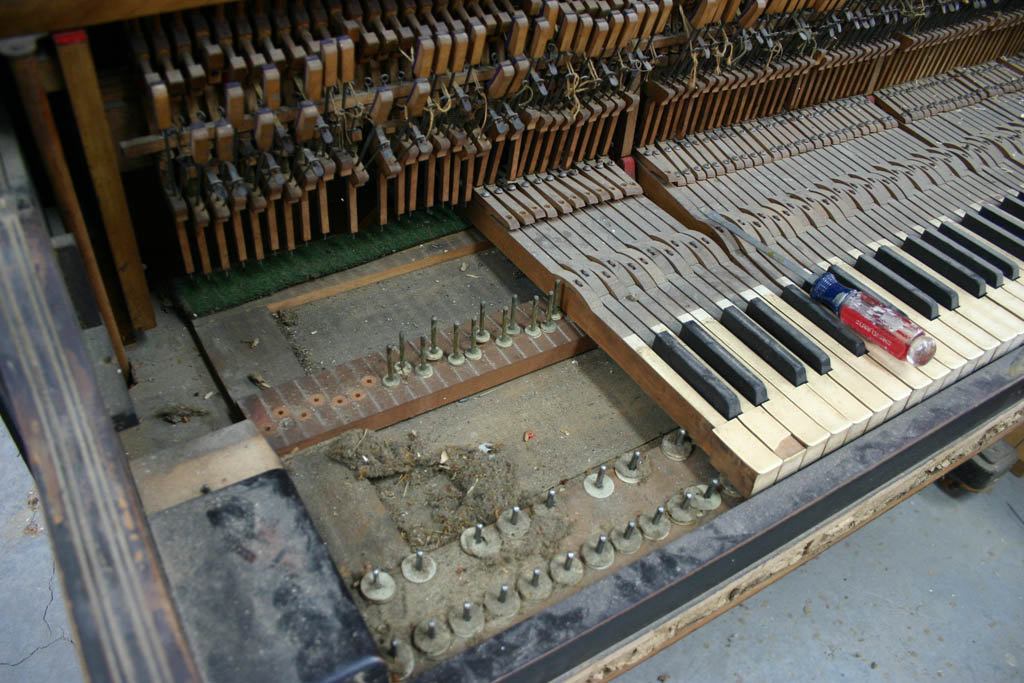
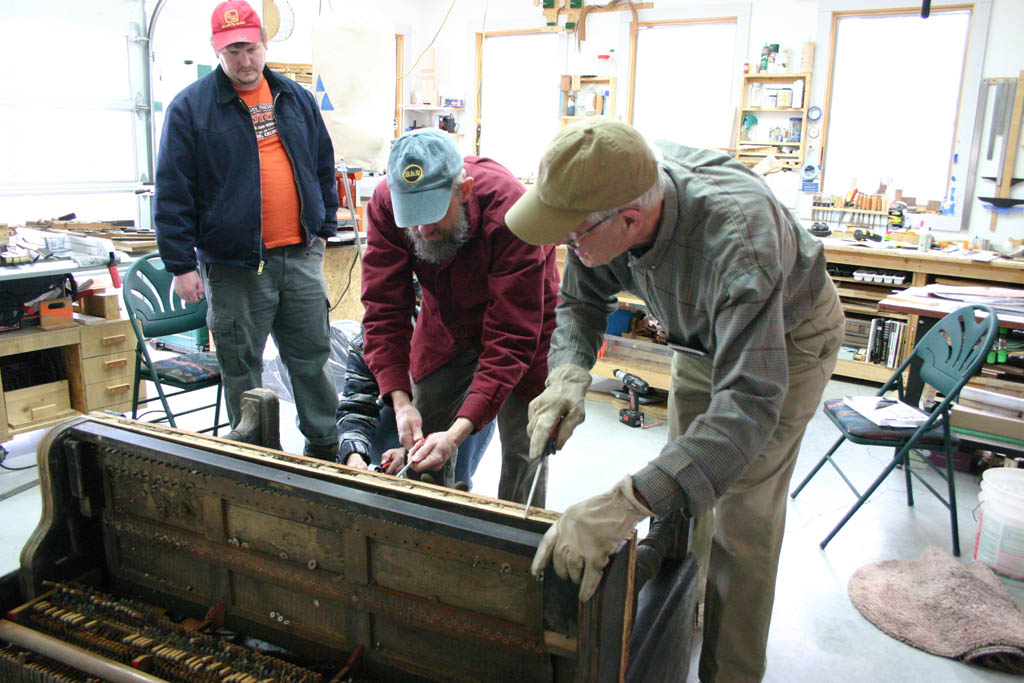
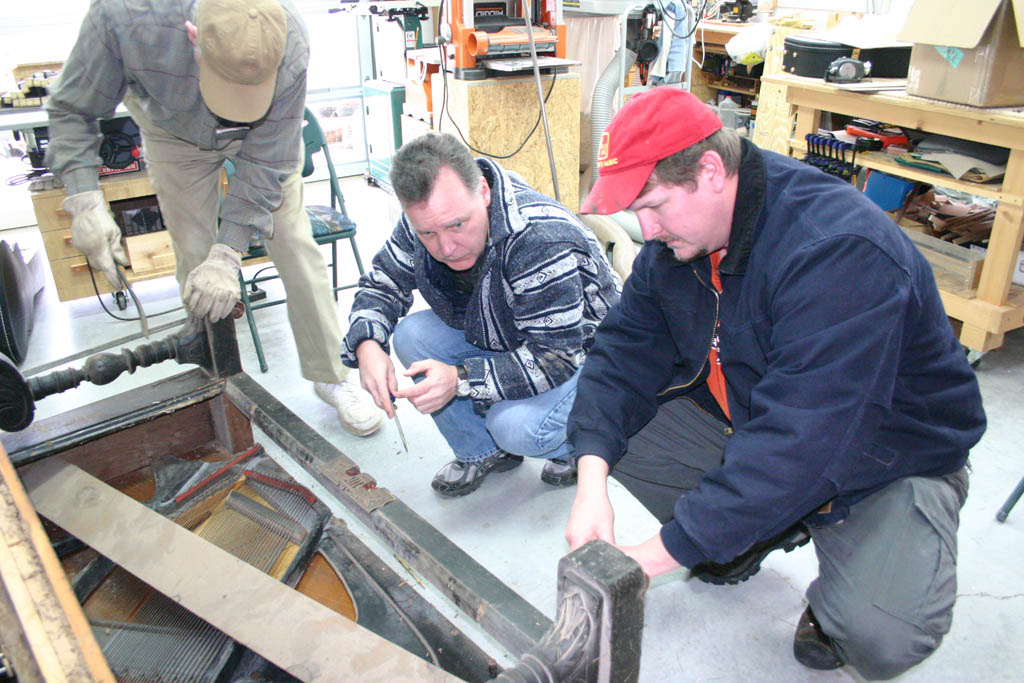
Dismantling the Piano
|
|
|

|
We used various tools to take this thing apart: Screw drivers, pliers, a drum key, wire cutters, hammers, a drill/driver, circular saws, sawzall, and a prybar. In the process we desroyed one screwdriver, the drum key, and a straight screwdriver bit.
|
|
|
|

|

|
|
|
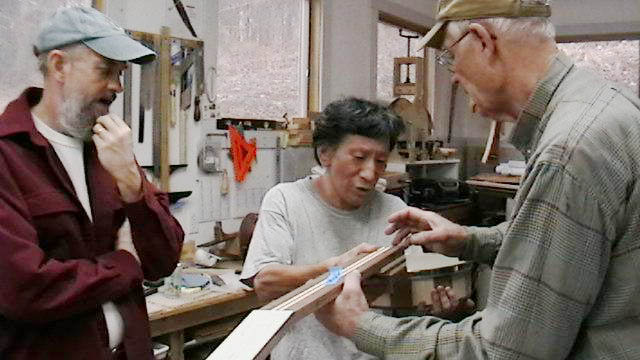
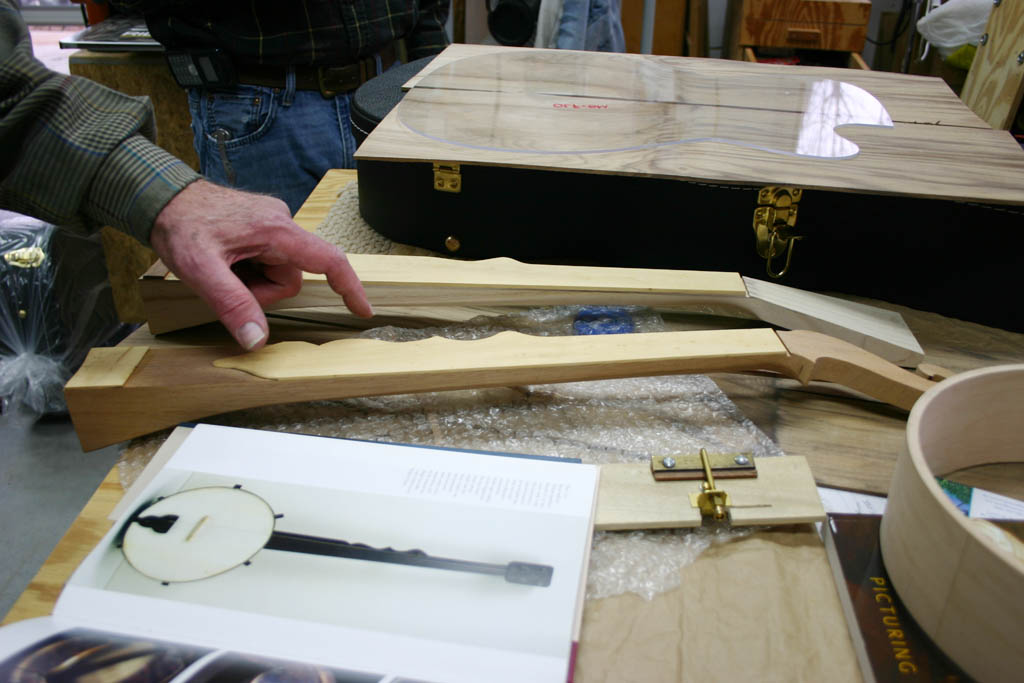
Larry on his "Staved" Banjo:
I had a bunch of questions for our banjo expert, Jack Gellerstedt, regarding neck to rim joint, neck angle, attaching the dowel stick, bridge position, and truss rod access. Jack and Woody McKenzie offered some advice and opinions.
Turns out that the neck to rim joint is more involved than you might think. First, the neck is angled back about 3 degrees. The neck at the heel end must be radiused to match the curve of the rim for a tight fit and that radius has to account for the neck tilt. Also, the mortise for the dowel rod must account for the neck tilt.
|
|
The truss rod access can be either at the headstock end or the heel end of the neck. If it's at the headstock end, I'll have to rout up into the headstock and then make a cover for the access point. If it's at the heel end, you have to take the neck off to do the adjustment.
Regarding bridge position: The farther from the center of the head, the crisper the sound. I made the neck for a 25" scale and used my bluegrass banjo as a guide for bridge position. Turns out using the bluegrass banjo for reference was not such a great idea because I want a mellower sound for this banjo (a six string banjo tuned like a guitar). If I don't like the sound, I'll have to build a new neck.
Although I got some things cleared up, I'm not sure how to actually machine the parts. I have to think about it. I'm sure I'll be calling Jack for more advice.Howard's OM
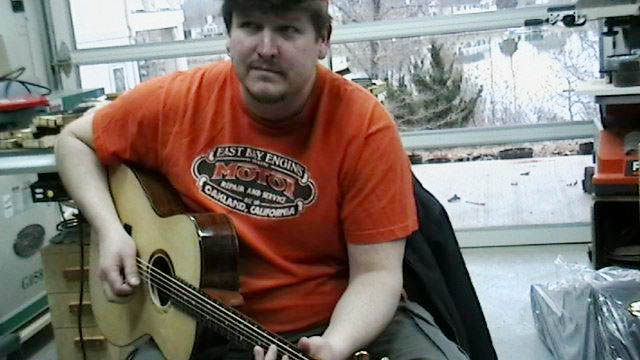
Howard Wilson had been doing some setup work on his OM. He brought it to the meeting to get some opinions about the action and playability from other guitar players.
In the photo at right, B.B. Rierson tries it out. Larry and B.B. both thought the action needed to be lower.
Jack on his "Vintage" Banjo Projects
Jack Gellerstedt discussed some work he has in process on two, Early American (circa 1850's) banjos and showed the partially completed necks for both.
Though the banjo was still in its early stages of popularization at that time, having first emerged from the plantations in the 1830's, many ideas had already been tried by then.
He has attempted to create some original, period-inspired design features, but he finds that just about any idea he can come up with had already been tried by that time.

.
.
.
.
.
.
.
.